You can produce anything you like to enter.
Look forward to seeing your projects :)
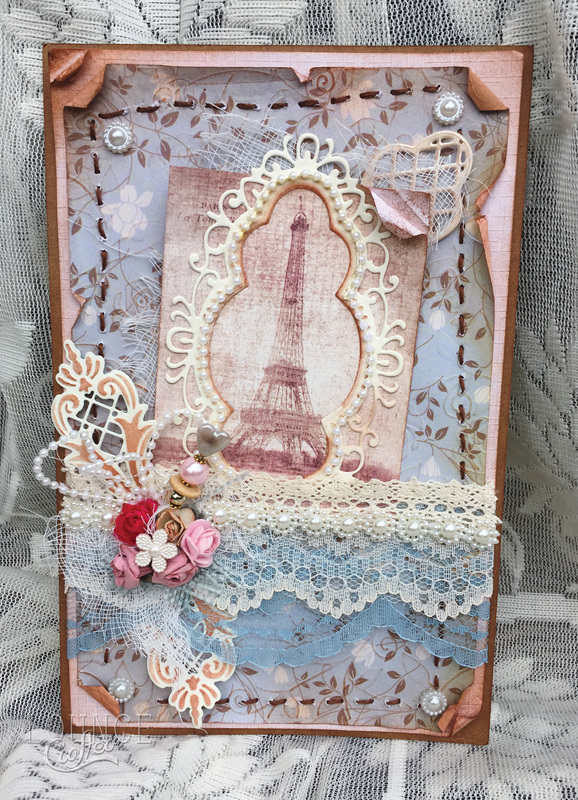
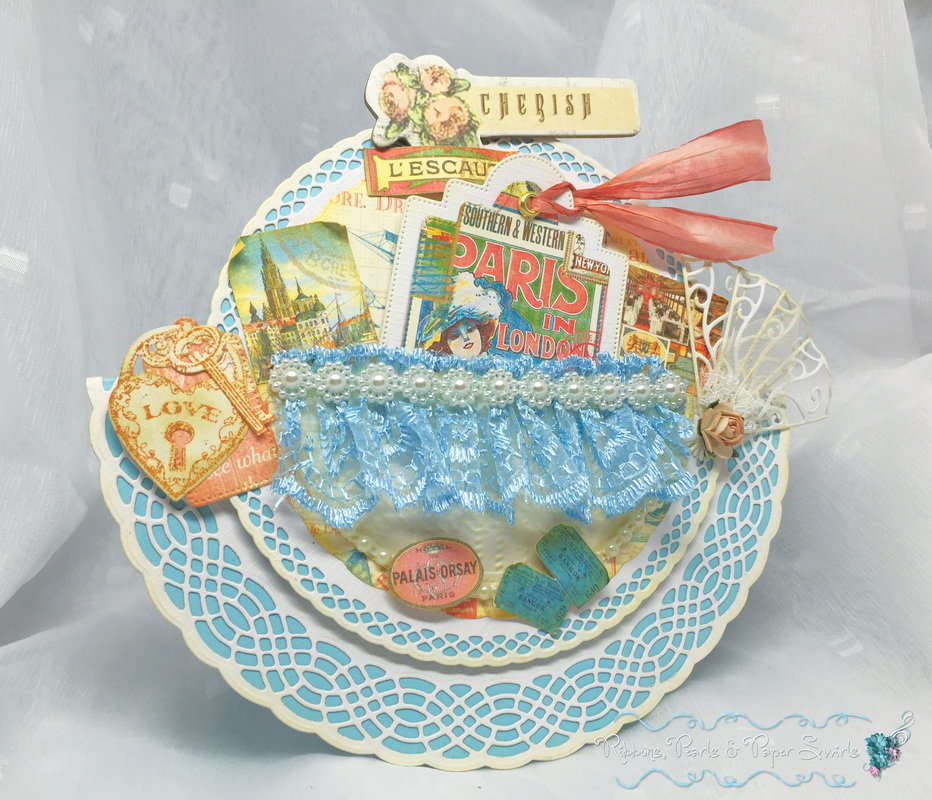
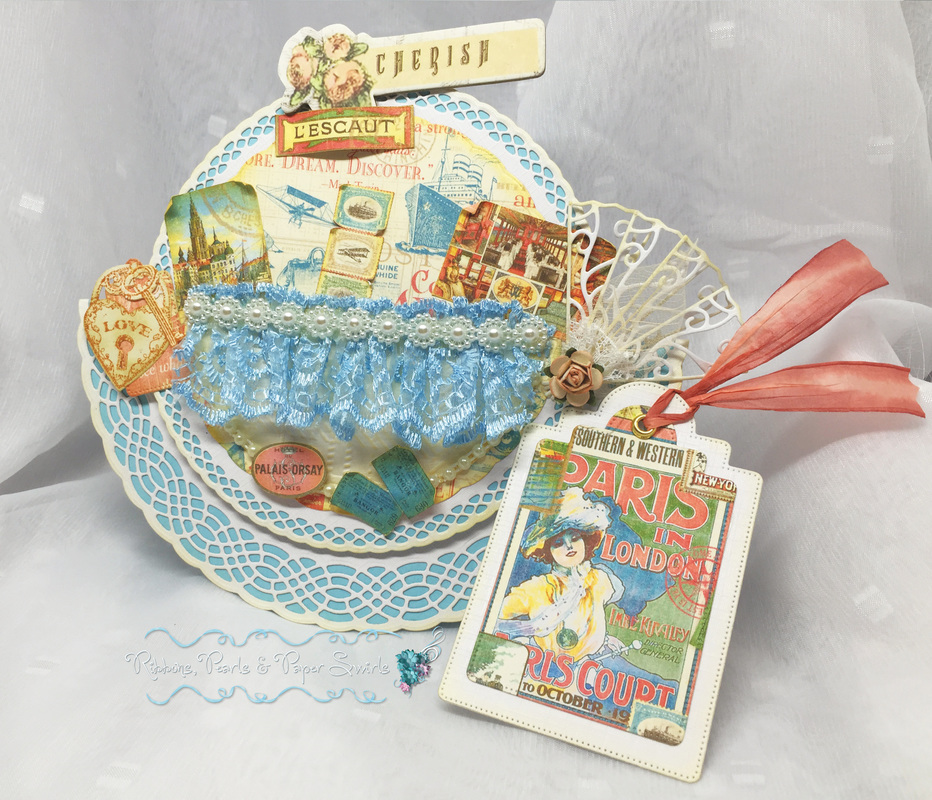
We have a new challenge starting today over at Crafty Creations Challenge Blog. The theme is Paris and our sponsor for this challenge is Craft Classes Online with a great prize for one lucky winner of a an online class valued up to $25.
You can produce anything you like to enter. Look forward to seeing your projects :) I can now share my other piece of news with you...I am a runner up in the Cardmaker of the Year 2015 :) This is one of my cards, I call it a perfect G&T as it combines some of my favourite papers - Graphic 45 - and one of my favourite die sets - Tonic Celtic Dreams! This article is in Cardmaking & Papercraft, I believe there are also going to be articles in Papercraft Inspirations and Quick Cards Made Easy in the next couple of weeks. Prizes!
To make this card: Cut the largest basic circle from the Tonic Studios Celtic Dreams die set in white and blue card. Take the largest decorative die and cut into the white card, stick over the blue card, score in the centre and crease to form a rocker card base. Do the same with the next size down from the same die set to create a base to add all of the elements and embellishment to. Stick this onto the folded card with foam pads to give it some dimension. Cut your chosen patterned paper (I’ve used Graphic 45 Come Away With Me) using a smaller circle die and stick it to the flat card. Cut another smaller circle out of white card, cut in half so that you have a semi circle, glue one of them at the round edge only leaving the straight edge open to form a pocket for your tag to go into. Emboss the pocket if desired to add interest. Ink the edges of all your layers with a stamp pad, I’ve used Antique Linen distress ink. Decorate as desired, I’ve used mostly Graphic 45 Come Away With Me along with other embellishments and die cuts from my stash. Add lace and string pearls along the edge of the pocket for more detail. Add a tag or small card to go in the pocket. I'll share my other two cards in the coming days Thank you for visiting :) Another post today to remind you all that Jodie will be on Ideal World tonight at 9pm with the Pick Of The Day. Jodie will be introducing the brand new Decorative Mini Dies. Each set has four dies included - a decorative corner, flourish frame, insert shape cutting die and internal detail die. Here are a few cards I made using the gorgeous Floral Fancy set. This card was made using the flourish frame and decorative corner. I cut them both out twice in white and cream and drop shadowed them. I cut the corner down to create a smaller corner. I stamped the sentiment in Rusty Hinge distress ink and cut it out of the frame. I raised the frame on foam pads so that the sentiment was set back. I then cut the base die from Tonic Deco Oval Trellis Base Die Set in cream and white. Then I cut the largest of the decorative frame out of the white die cut. I layered this onto the cream card and inked the edges with Rusty Hinge distress ink. Next I cut some patterned backing paper I had in my stash (free from a magazine I think) using the Tonic Layering Die - Elegant Oval slightly smaller than the others. I cut one of the shadowed frames in half and stuck behind the large frame at opposite angles to the centre frame. To finish I added cream ribbon and some shop bought roses to complement the patterned paper. To make this I cut the flourish frame and decorative corner out of white card (and put them aside to use for another project). I stuck brown card to the back of the white card and then cut the same die cuts in turquoise and placed them back into the apertures of the white card. I stamped the sentiment using Vintage Photo distress ink and stuck it to the centre of the frame with foam pads. I coloured the resin rose with my Nuvo Pens and added ribbon to finish. For this card I cut the flourish frame from 4 times in white and silver mirror card. I layered the white die cuts on top of each other off-setting to create the floral/snowflake shape. With the silver die cuts I cut about an inch from the centre so that when layered they were shorter than the white.
I used the sentiment embossing die from Tonic Studios Essentials Thinking Of You Die Set for the centre of the layered die cuts. I then cut 6 of the insert shape and internal dies and glued them together as shown to create a buckle for the ribbon to thread through. There will be more shows throughout the day tomorrow on Create & Craft, hope you can tune in :) |
Get in touch [email protected] Ribbons, pearls & paper swirls; just some of the pretty items I like to use to embellish my paper crafts. I love taking simple materials such as card or paper and transforming them into bespoke three dimensional card art. Proud to design for
Published/Featured
Past Design Teams
If you'd like to get in touch please email [email protected]
or to receive updates of new blog posts just fill in your details below. Archives
July 2021
Categories
All
|